3D Fog of War in Unity
Shadowcasting, GPU Buffers, and Post-Processing
2025-02-13
2025-02-13
Welcome to my blog! If you missed my previous post about procedural level generation,
this one picks up right where we left off. Today I will talk about how I implemented a fully 3D Fog of War system for my game.
We'll cover everything, from post-process shaders to GPU buffers, shadowcasting, and more.
Let's get started!
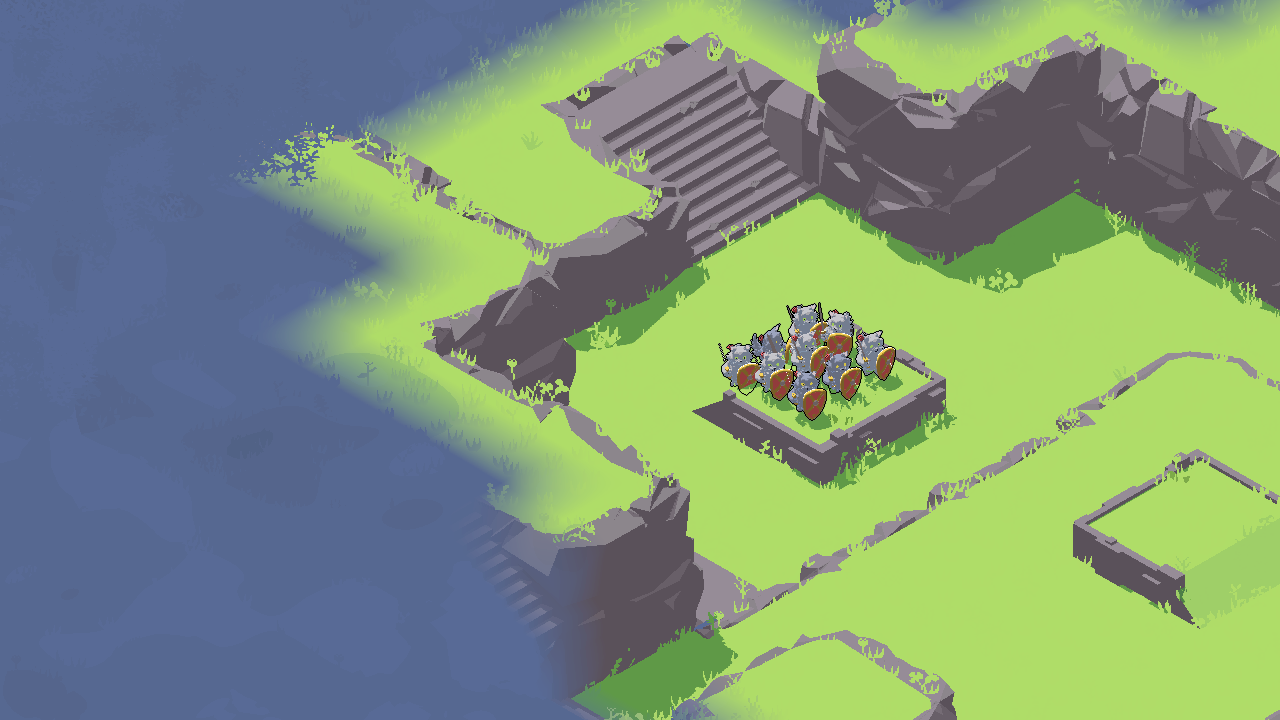
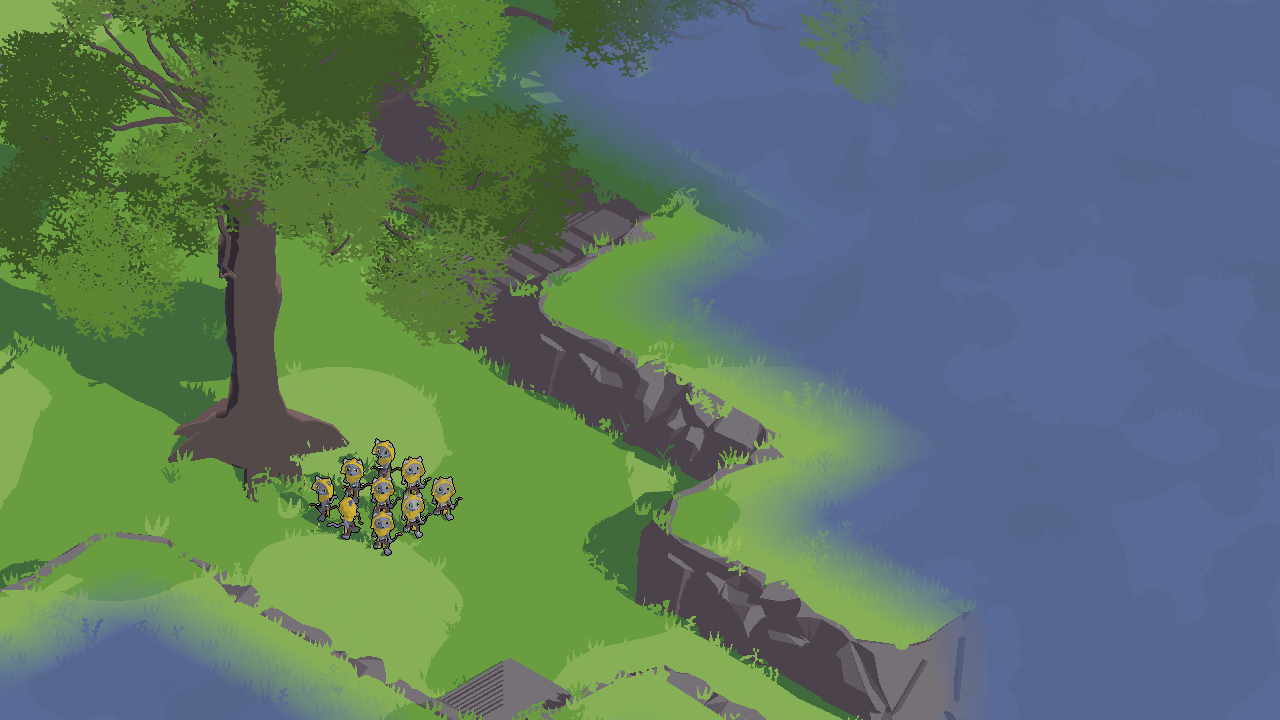
The game I'm developing is a Real-Time Strategy (RTS) Roguelike with an isometric perspective, where you command platoons of cats to war. The map is tile-based, with cliffs, bridges, caves, and more. You can also rotate the camera, to see behind cliffs and other obstructions. A standard 2D Fog of War just wouldn't cut it, so I needed a 3D solution. The problem is that, as far as I know, no game has ever implemented a fully 3D system before.
The first step was doing research and studying various approaches. I analyzed various R.T.S. games, and found three main Fog of War implementations:
As you can see, there is a clear pattern: The more units a game has, the less accurate its Fog of War is. This is probably mainly due to performance constraints. My game has very few units, so I wanted high accuracy.
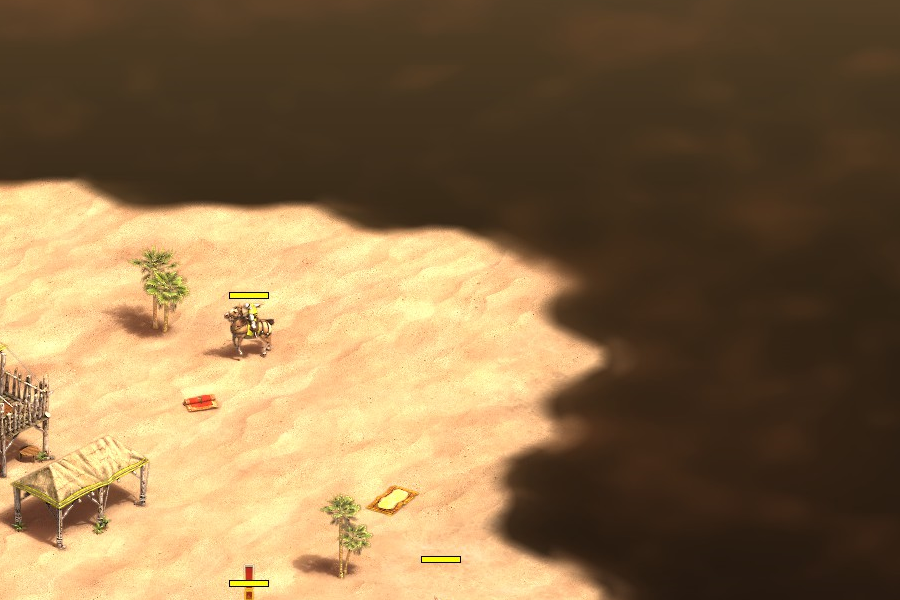
Warcraft III has a very accurate Fog of War. Obstacles such as trees obstruct the view, and the difference of elevation of cliffs
allows for above units to see below, while remaining hidden.
It's a very good looking implementation.
However, the terrain is still stored in a 2D grid, and that doesn't allow for structures like caves or bridges.
Visually, it's 3D, but the Fog of War implementation is fully 2D.
My game has all kind of structures, so I needed a fully 3D approach.
I broke the problem into steps:
Since my terrain is already stored in a 3D grid, this part was straightforward. Each cell is either:
All the data is stored into a 3D bool array, which I then populate when the map is generated.
I experimented with multiple approaches:
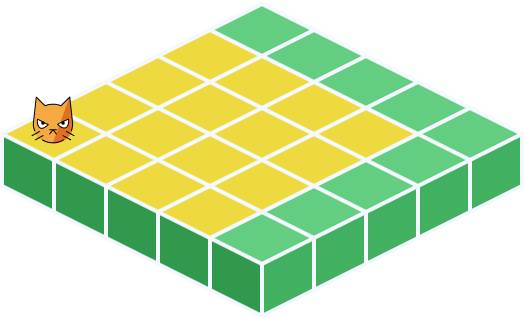
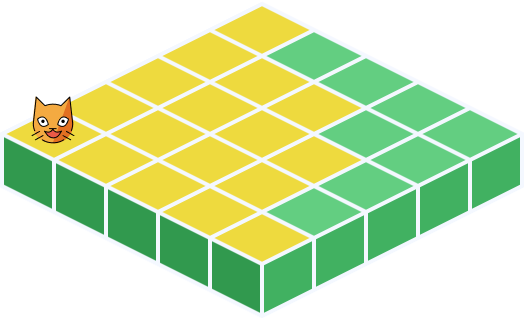
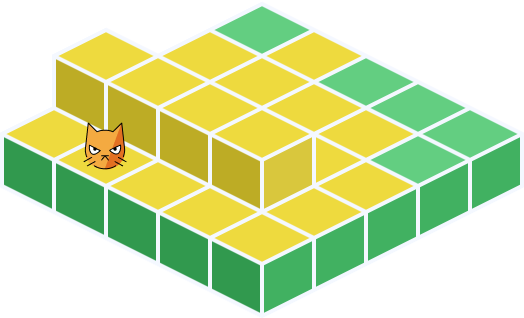
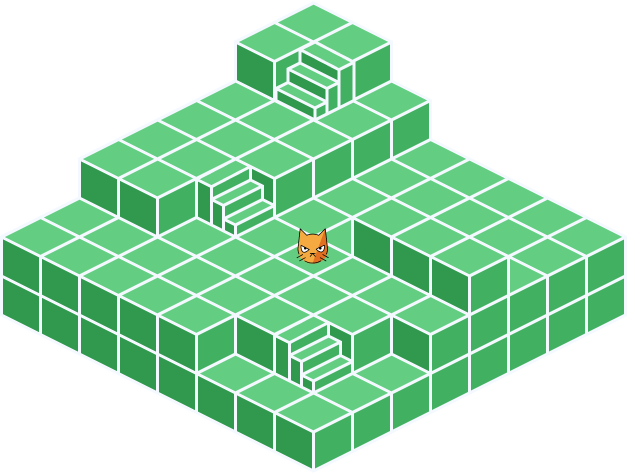
Each one of these algorithms had its Pros and Cons, but to better explain the problems of these implementations, here is Sofia.

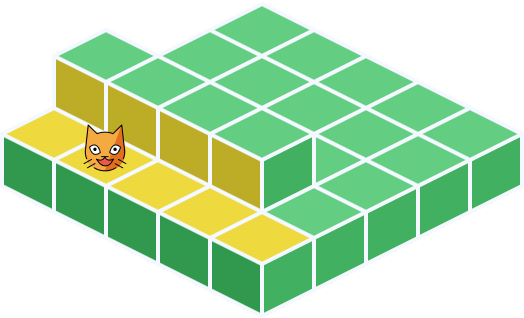
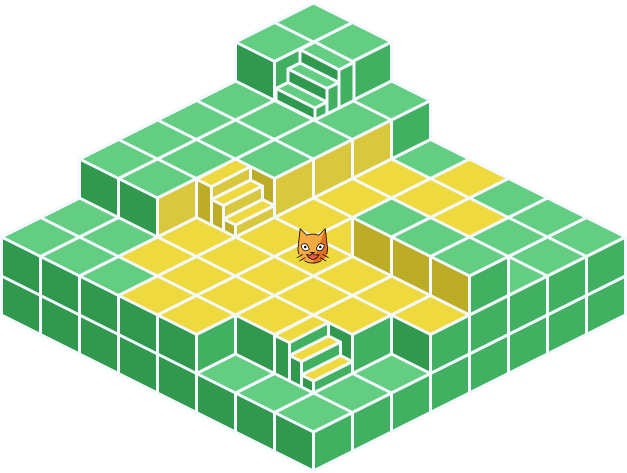
The square implementation was the most naive one. It simply revealed all the tiles in a square around the unit. Very easy to implement, useful for debug, but I couldn't use anything like that in game. The cylinder one looked a bit better, but it still didn't handle occlusions.
While the previous algorithms were extremely fast, they didn't account for occlusions at all. Here you can see the difference between these 2 implementations, and an algorithm that accounts for occlusions.
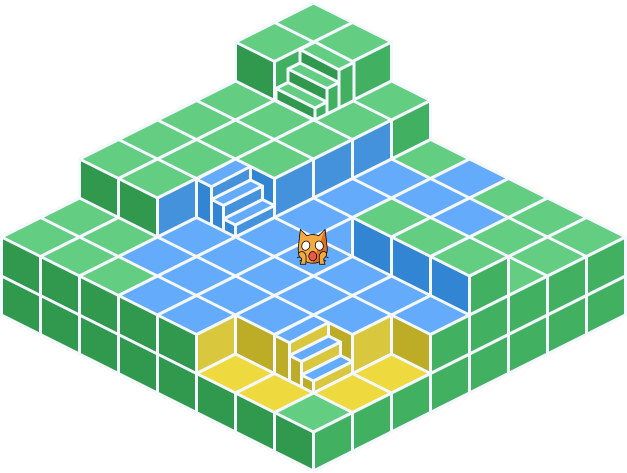
However, Shadowcasting and other algorithms used in Roguelikes or RTS all use a 2D map. Unlike Warcraft III's approach, my system needs to support multiple height layers in a true 3D buffer. This means units must be able to see below and above, making bridges, caves, and cliffs possible.
Here you can see how Sofia can see both above and below, with a shadowcasting implementation.
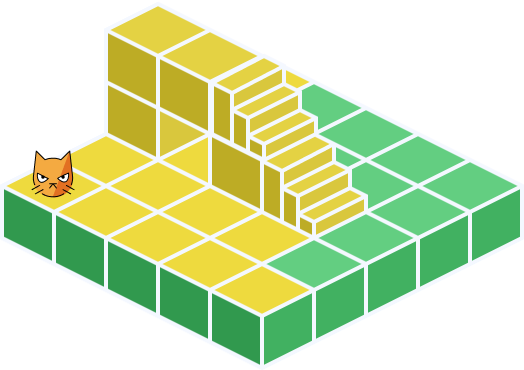
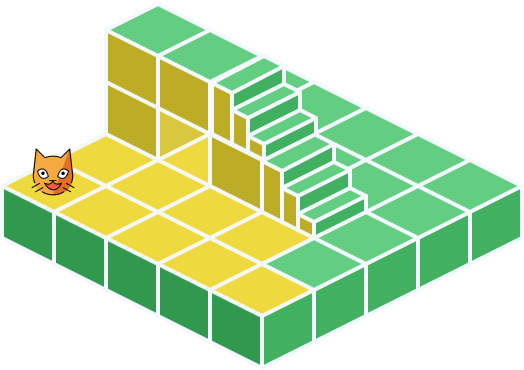

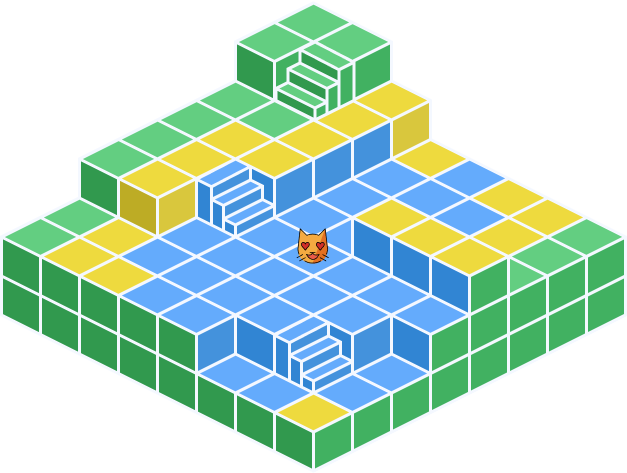
Out of all the previous solutions, shadowcasting was the closest to what I actually wanted. But it wasn't 3D, so I had to improvise. After a lot or trial and error, I managed to find a solution that was performant (more or less), looked good, and that supported any type of structure.
Here's how it works:
To better illustrate the algorithm, here's a step-by-step breakdown.
Once the visibility algorithm was done, it was time to make a shader.
I initially considered applying the effect directly to materials. However, because of the time something like that would take, I ultimately made a post-process shader using Shader Graph:
I wanted smooth transitions, so I introduced an update delay system:
For aesthetics, I experimented with different fog colors (indigo, blue, purple, gray, black). Since my game is bright, I settled on a light gray with a slight blue tint.
Game-dev is HARD!
I had many roadblocks during these last 3 weeks. I wasn't sure about which roguelike algorithm I should implement, about how to get the world position in a post-process shader, about how can I make the visuals smooth, while mantaining the algorithm performant.
But after all this work, I think I managed to achieve a pretty good result. I will still try to improve it in the next weeks though!
If you enjoyed the blog post and you want to be updated on my progress, consider following me on X or Twitch! You can find all of my links in my Home Page
After two weeks, I managed to come up with a solution to vastly improve the look of the shader, you can check it out here!